Gold Overlay Ring


Gold Overlay Ring
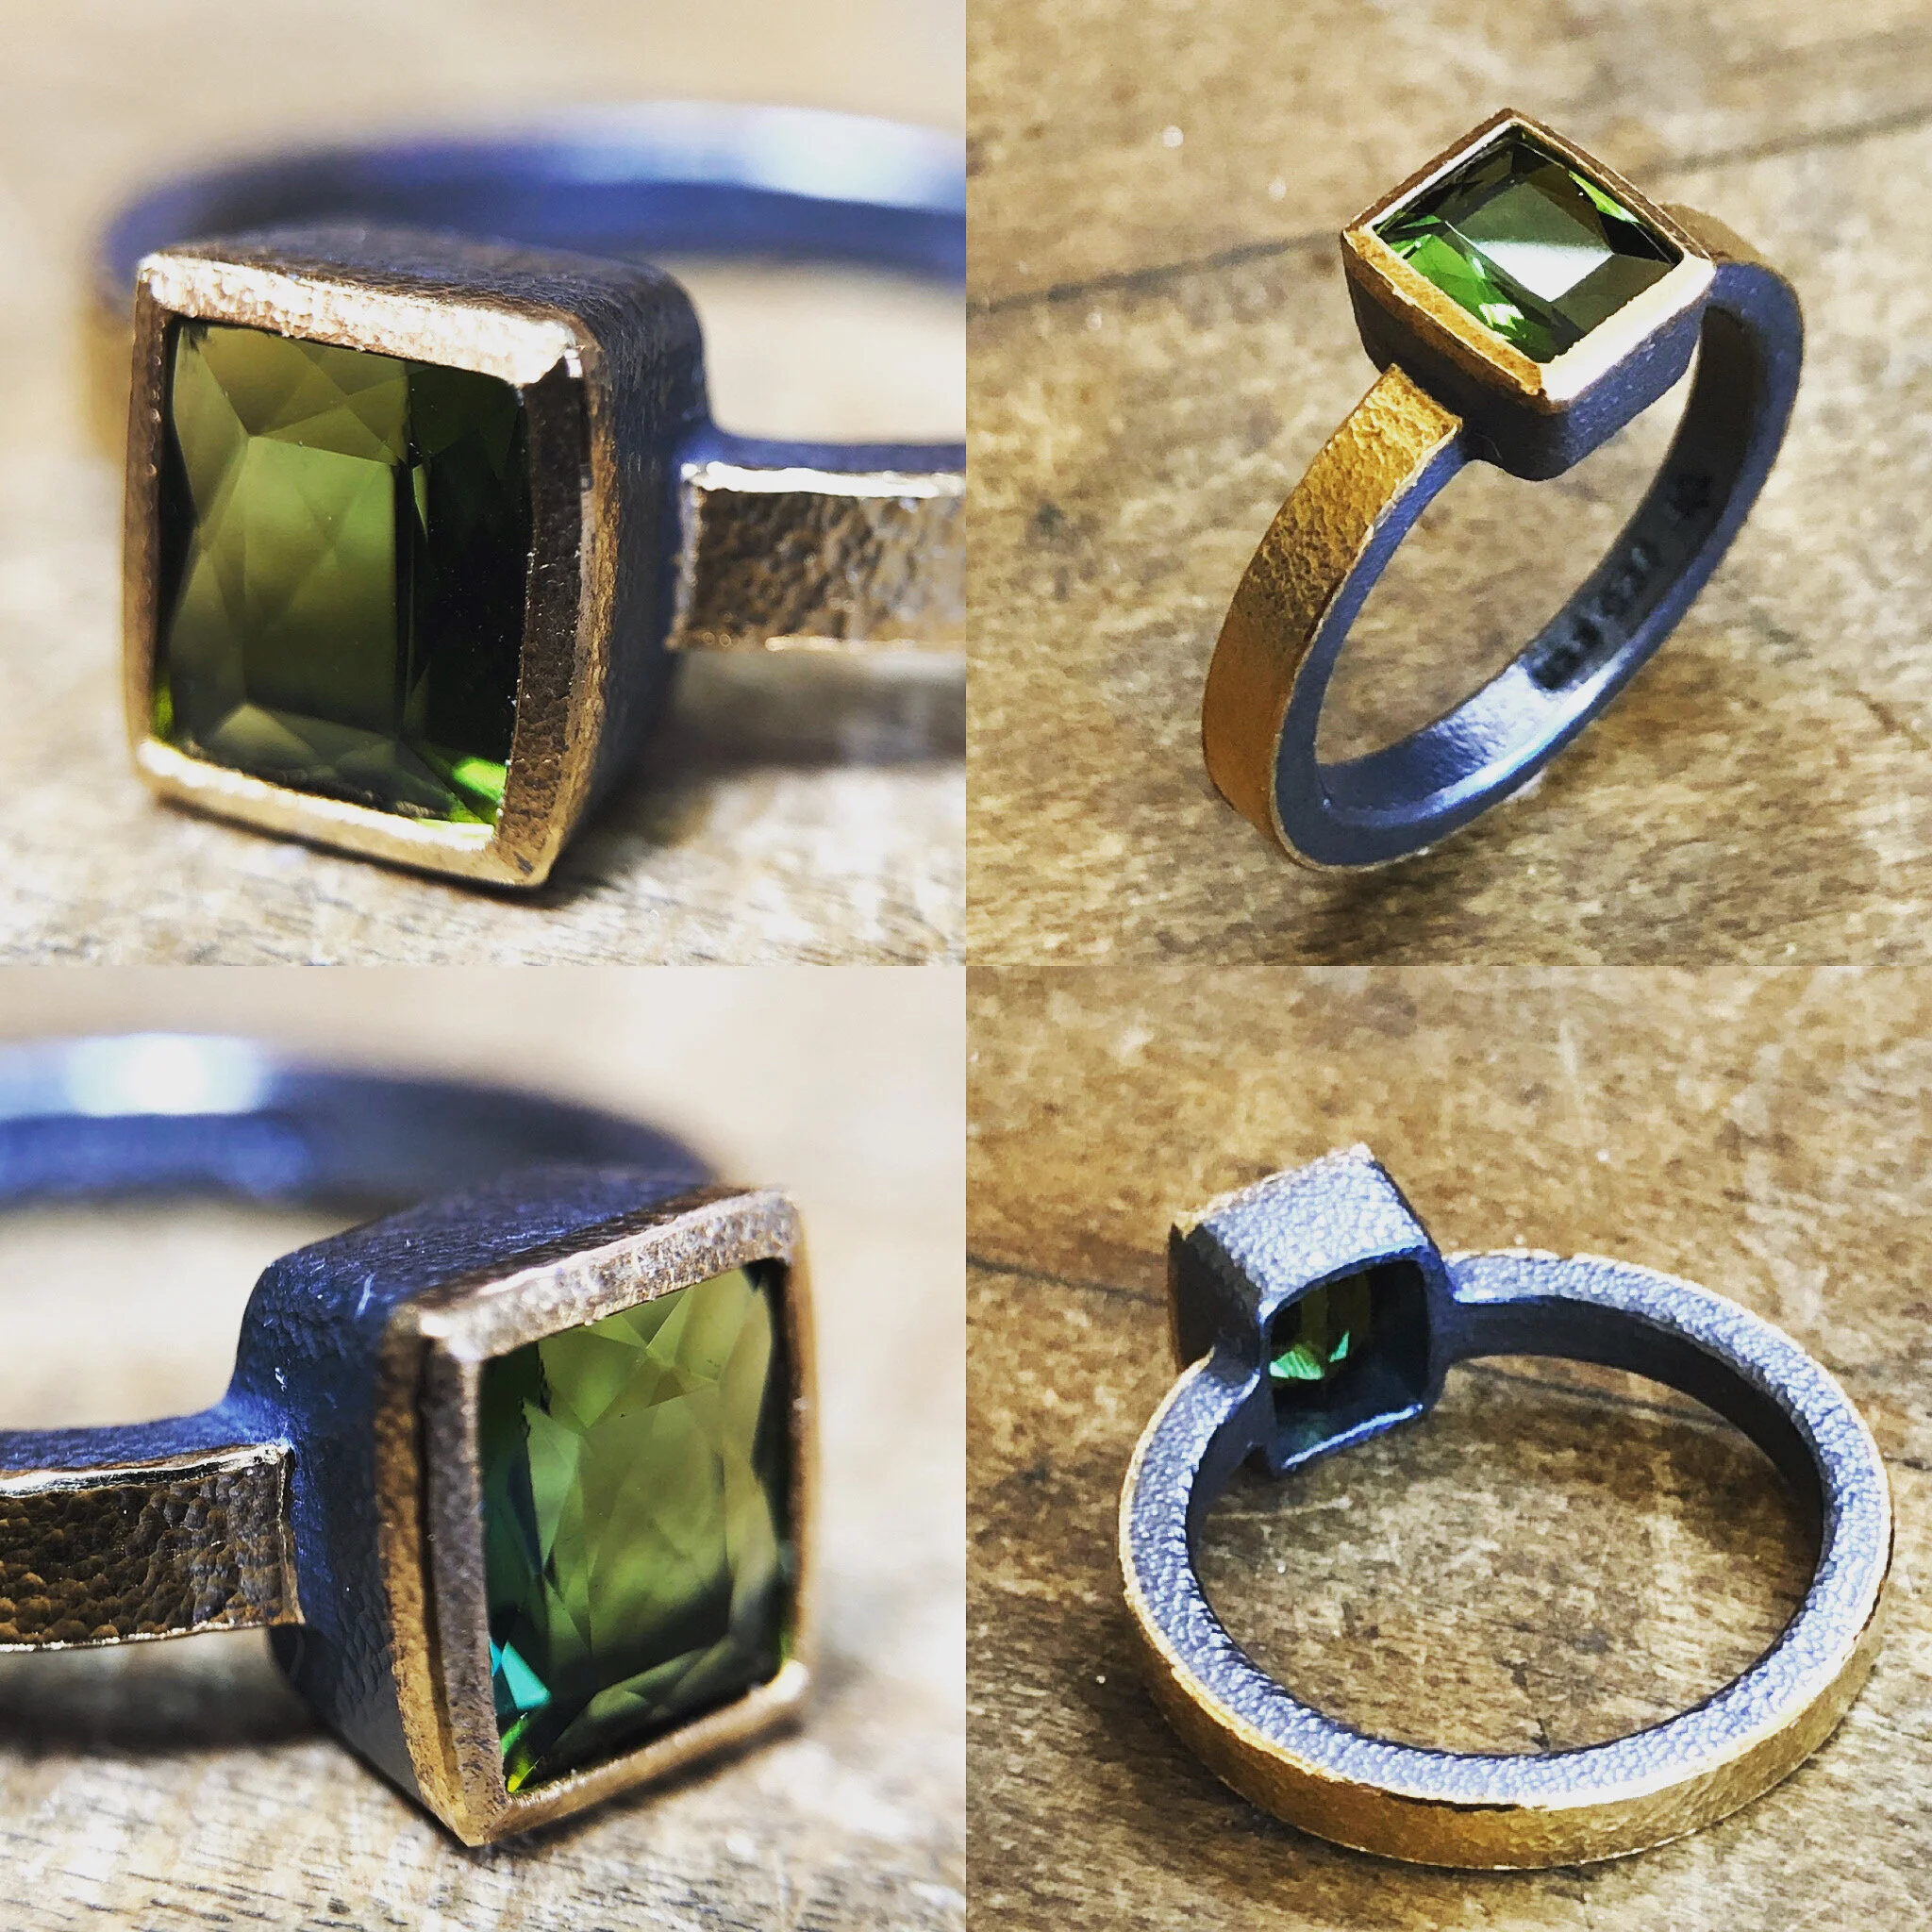
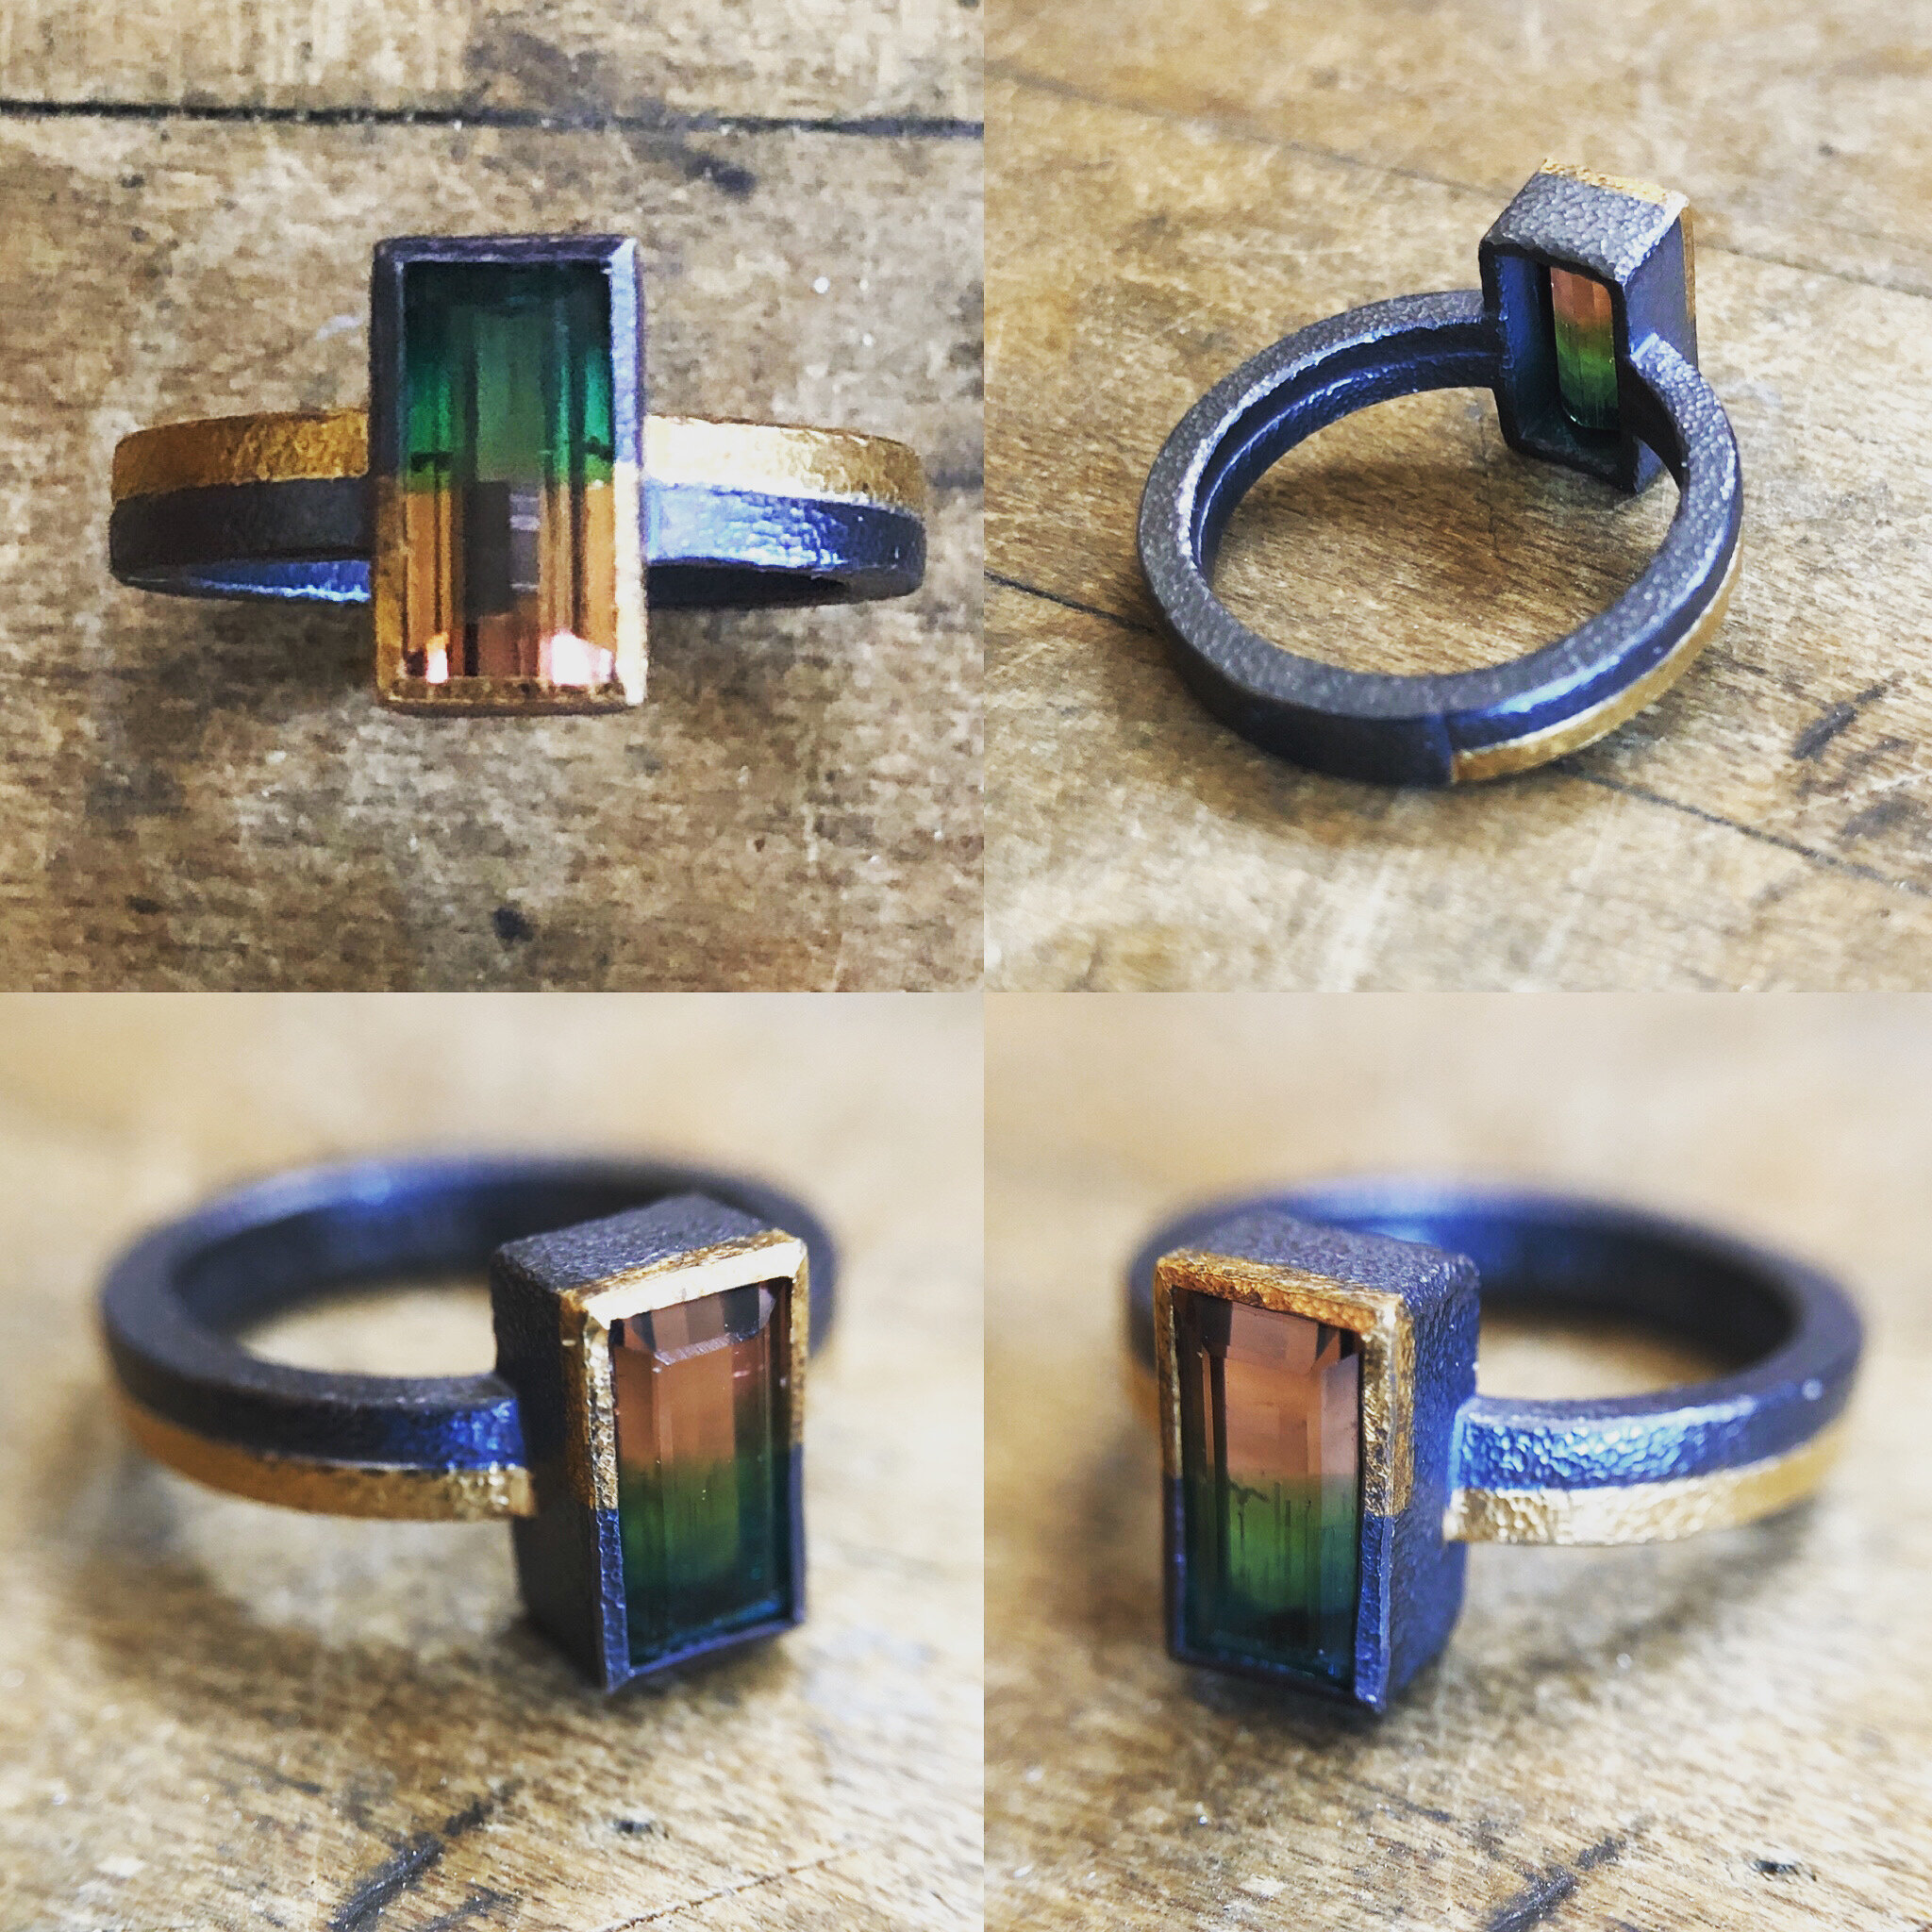
This tutorial teaches how to make a basic gold-sheathed silver ring as shown in the first picture. It’s the backbone of the pieces shown in the other photos. This tutorial requires intermediate level skills. Below you’ll find the materials I use in the demonstration piece. Once the principals are understood you can make this project in any dimensions you desire. If you want to purchase a kit that matches the dimensions of my demo piece email me at alex@alexboydstudio. Price varies according to metal market prices but expect approximately $100 plus shipping. Kit will include 22k gold, 18k yellow hard solder, and sterling silver strip for ring.
Materials:
Sterling silver rectangle wire 1.6mm (14 gauge) x 3mm, 3” long (yes, I know I’m mixing metric and standard but if you don’t like it you can write your own damn tutorial)
22k gold bezel wire .3mm (28 gauge) x 3.3 mm, 3” long
Hard silver solder
18k yellow hard solder
Tools Required:
Jewelry maker’s ruler (Rio Grande item #11602210) not required but it’s how I make my rings to size. If you’ve got a system that works for you then don’t worry about it.
Flat file (0 cut and 4 cut)
Sanding sticks (180 grit, 320 grit and 600 grit)
Jeweler’s saw with 2/0 blade
Permanent marker
Scribe
Dividers
Half-round pliers
Ring mandrel
Non-marring mallet (I like nylon the best)
Steel bench block or anvil
Parallel jaw pliers
Titanium solder pick
Torch
Flux
Pickle in a pickle pot